Alan's Model Railway Pages
2020
The Model Railway on the pages further down is now no more. The
baseboards started to warp as they were too thin and so the
complete
layout has been dismantled.
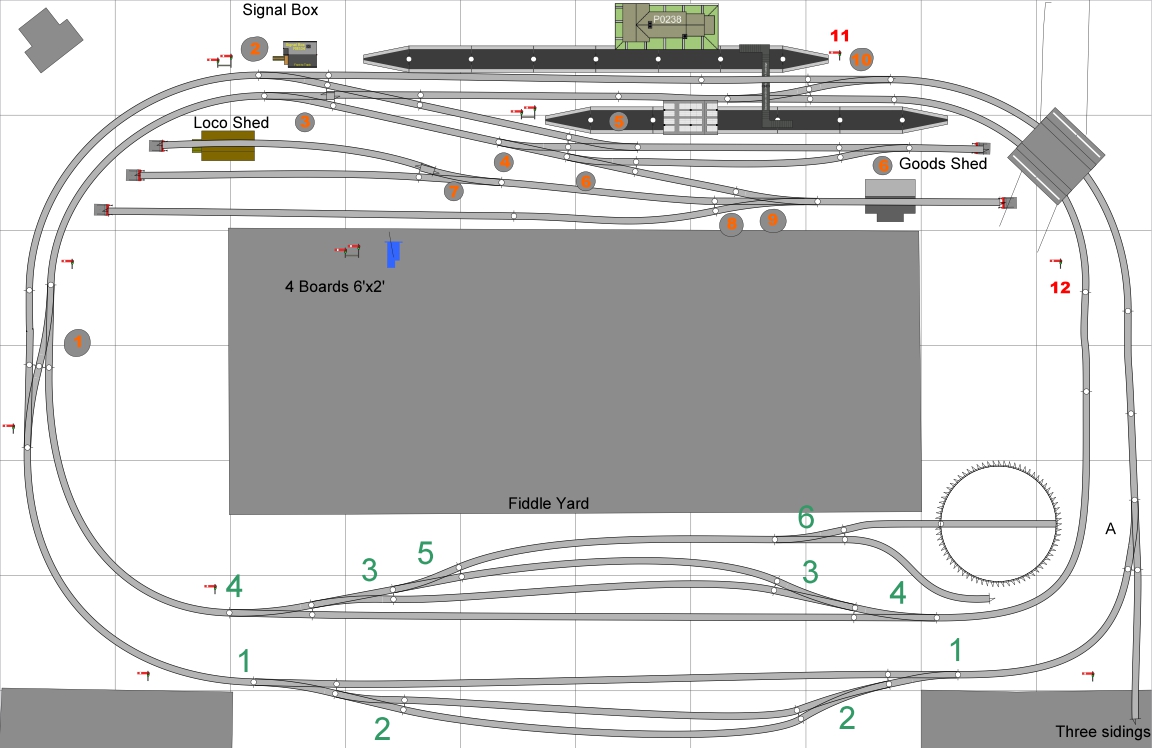
BUT I have purchased four professionally made base boards (Model
Railway Solutions) each 6' by 2' to make a layout 10' by 6'
which is more compact and takes up less room in the loft.
The layout plan is here:-

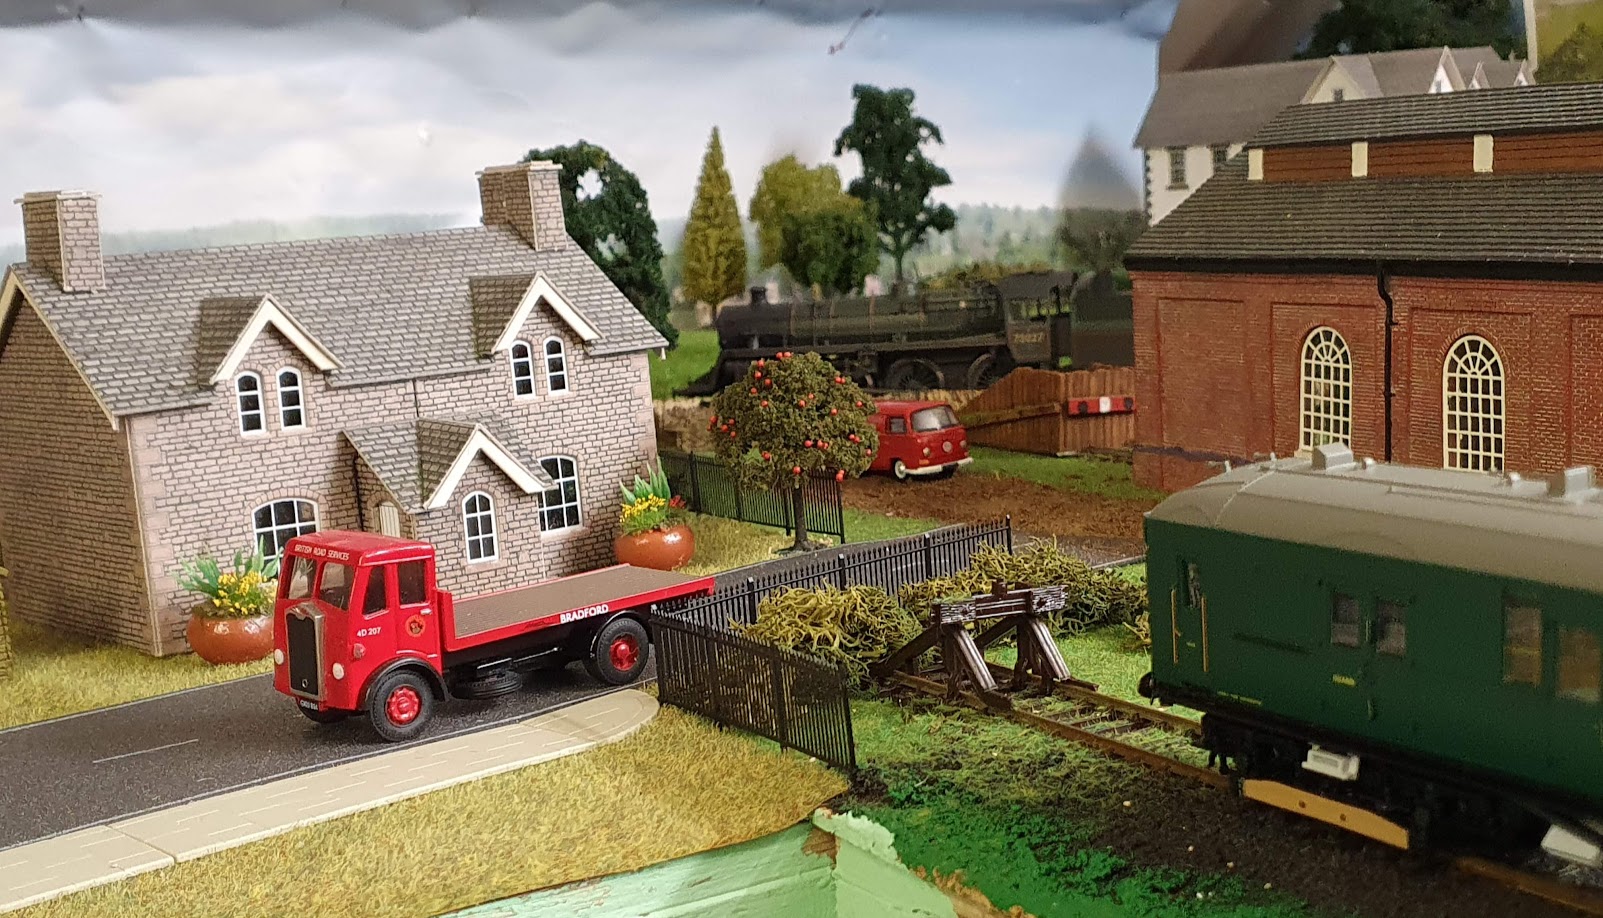
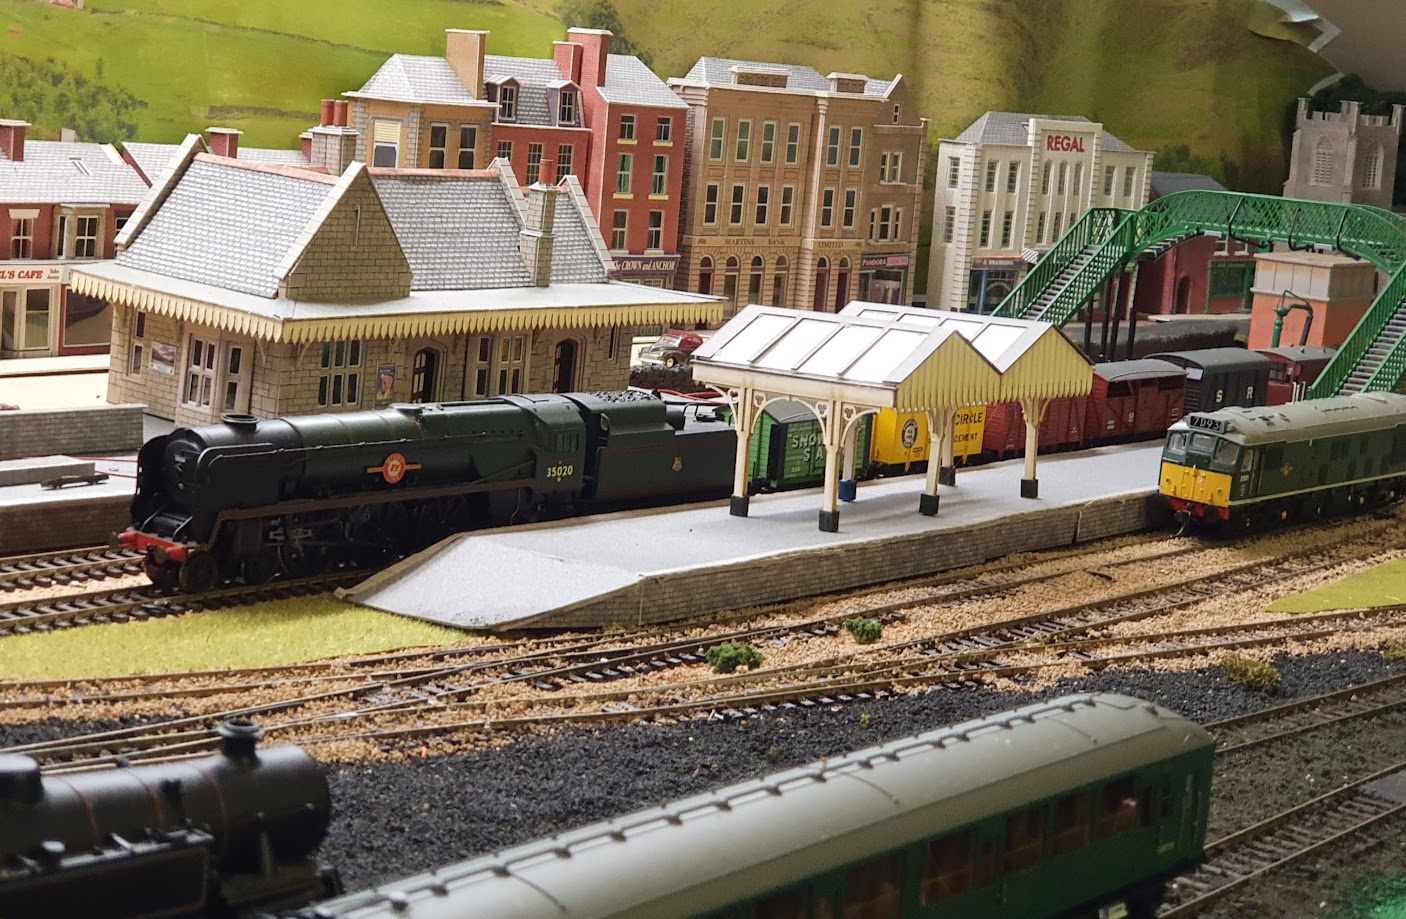
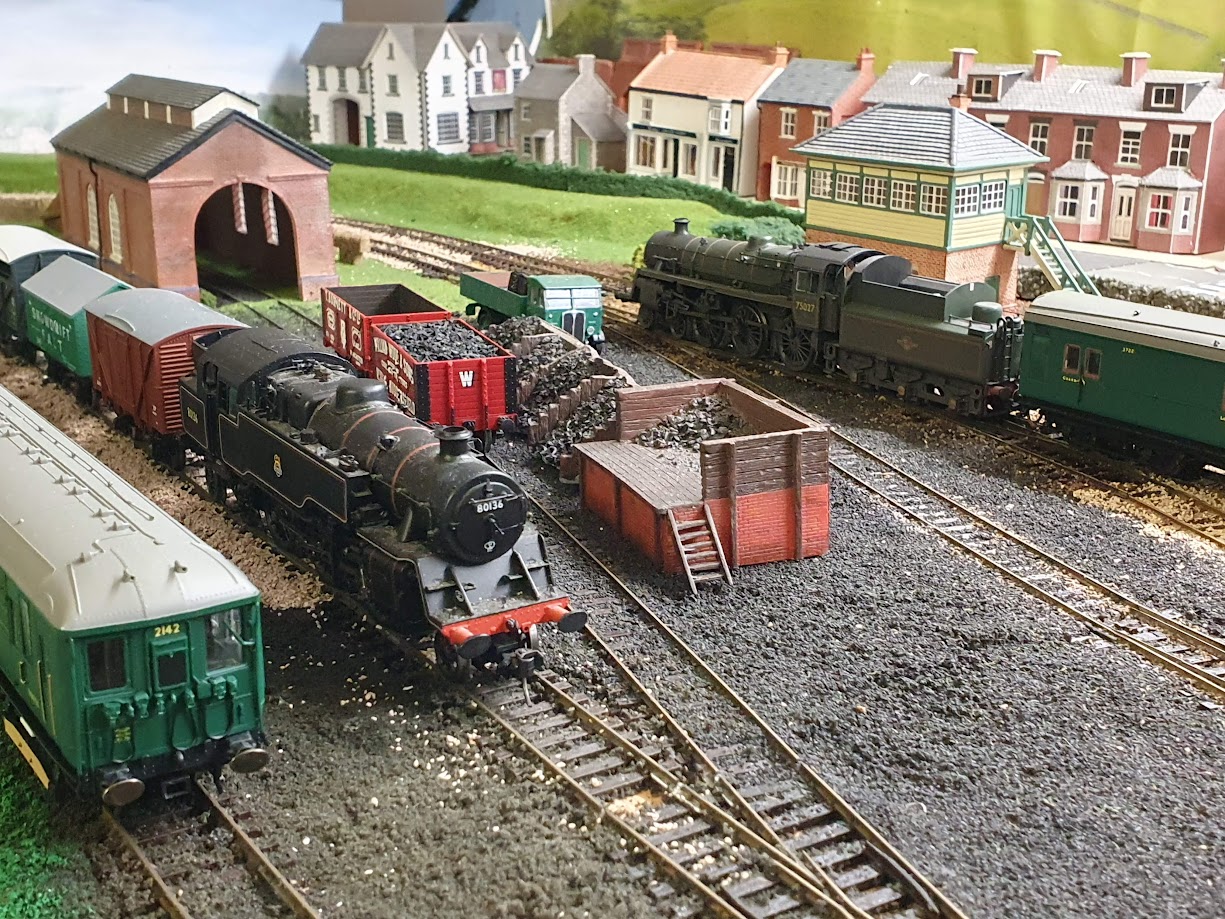


Latest photos September 2022
The new baseboards are now in position:-

I have finished laying all the cork underlay and can soon start
on track laying - 25 Sept 2020.
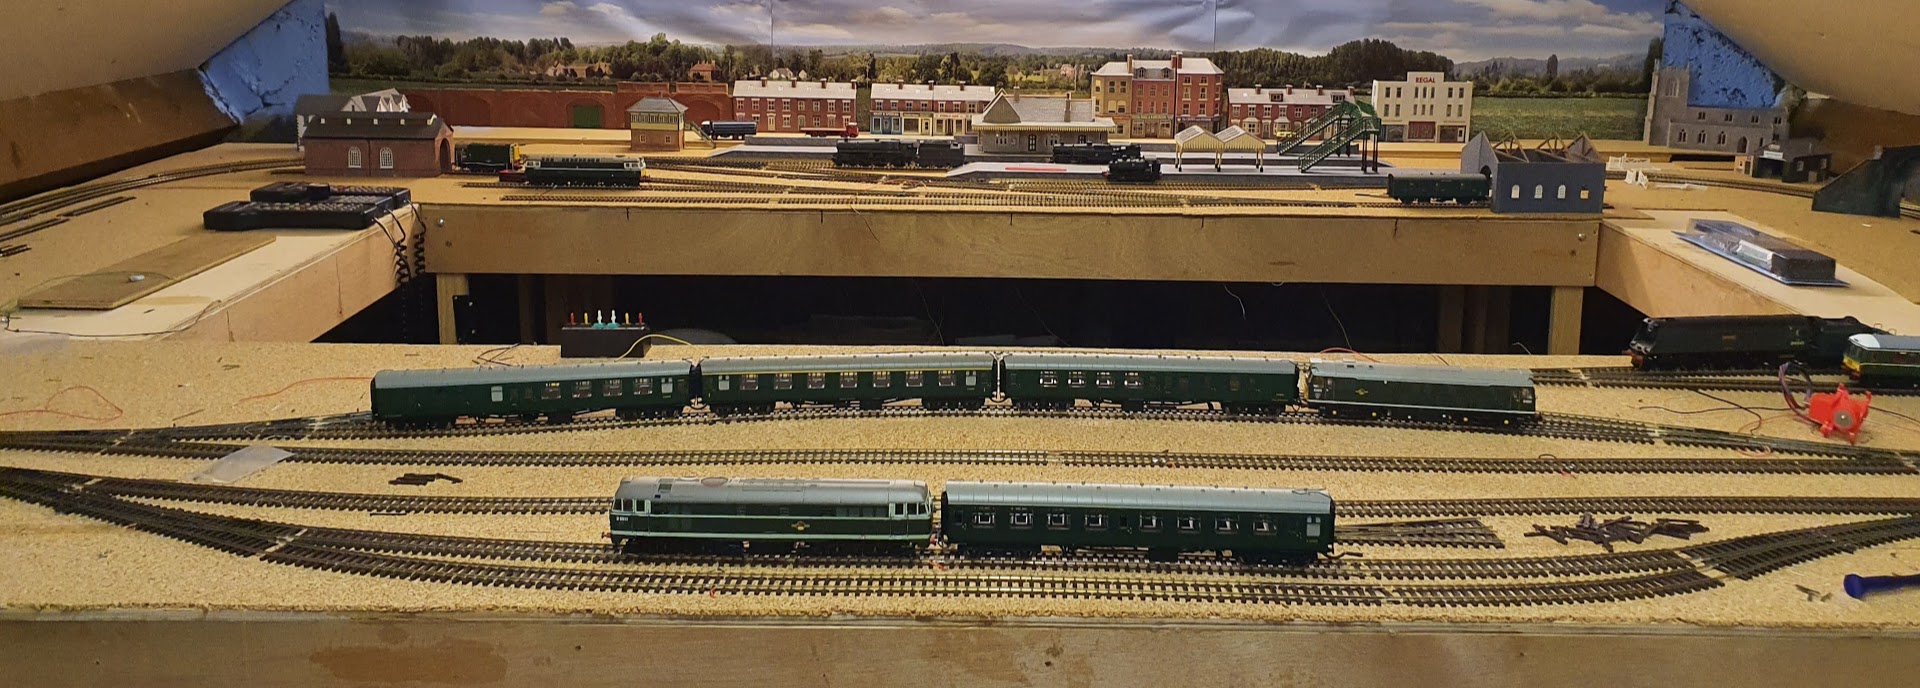
Majority of track now laid and most of the Cobalt point motors in position at 24th December 2020.
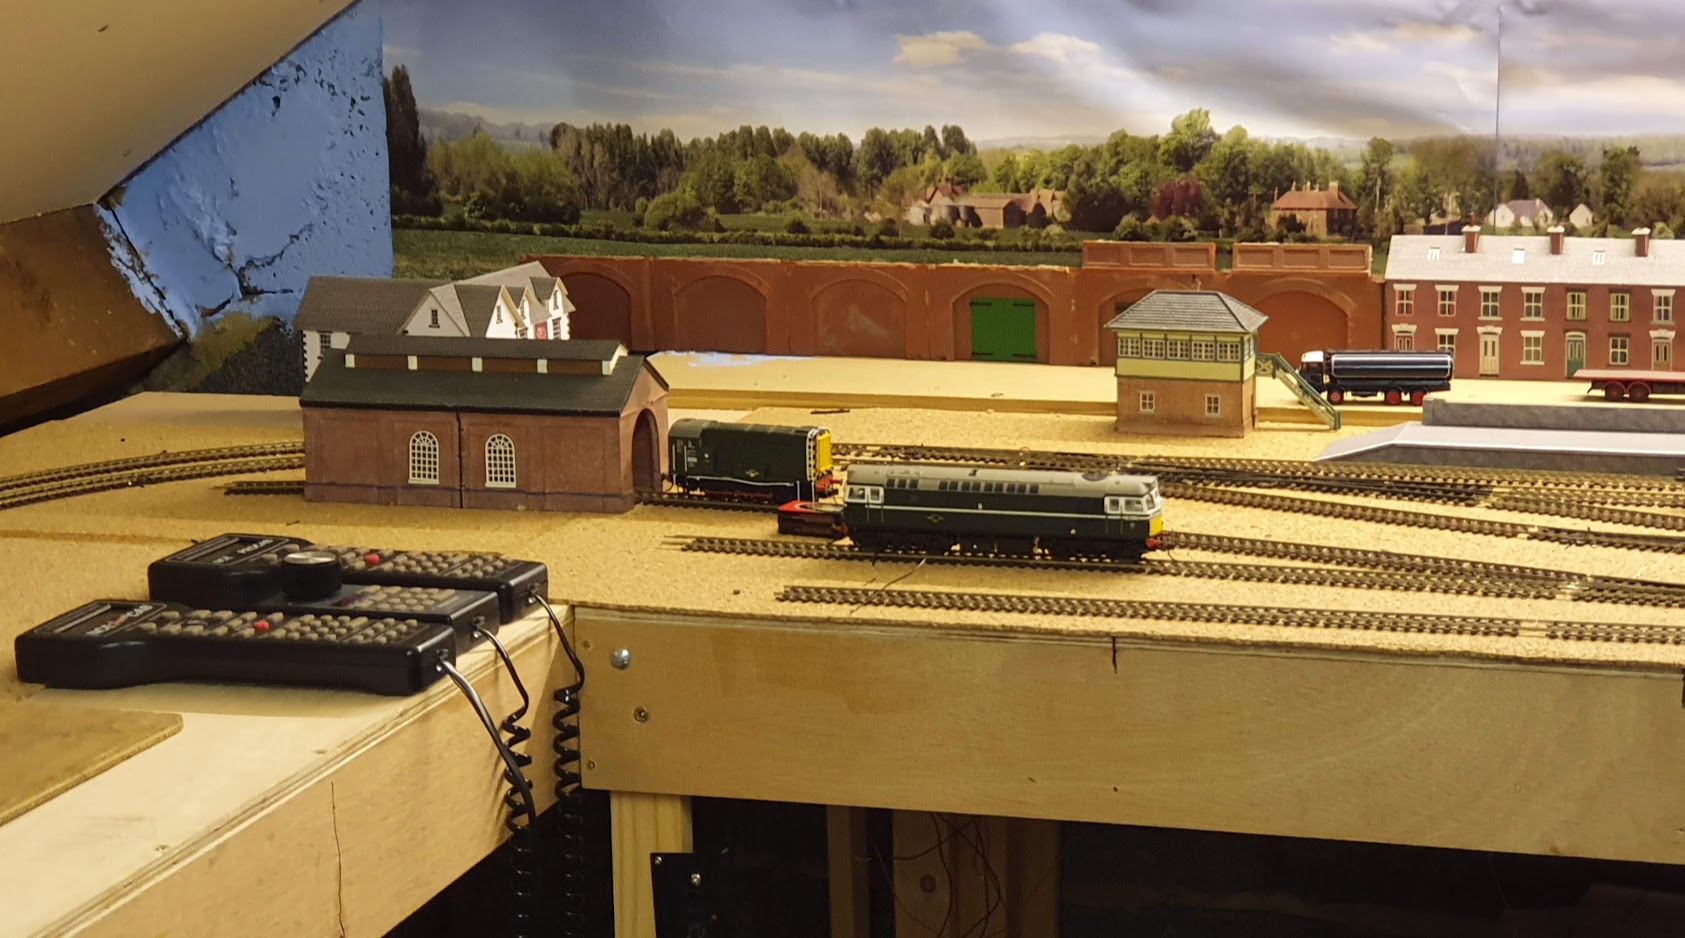
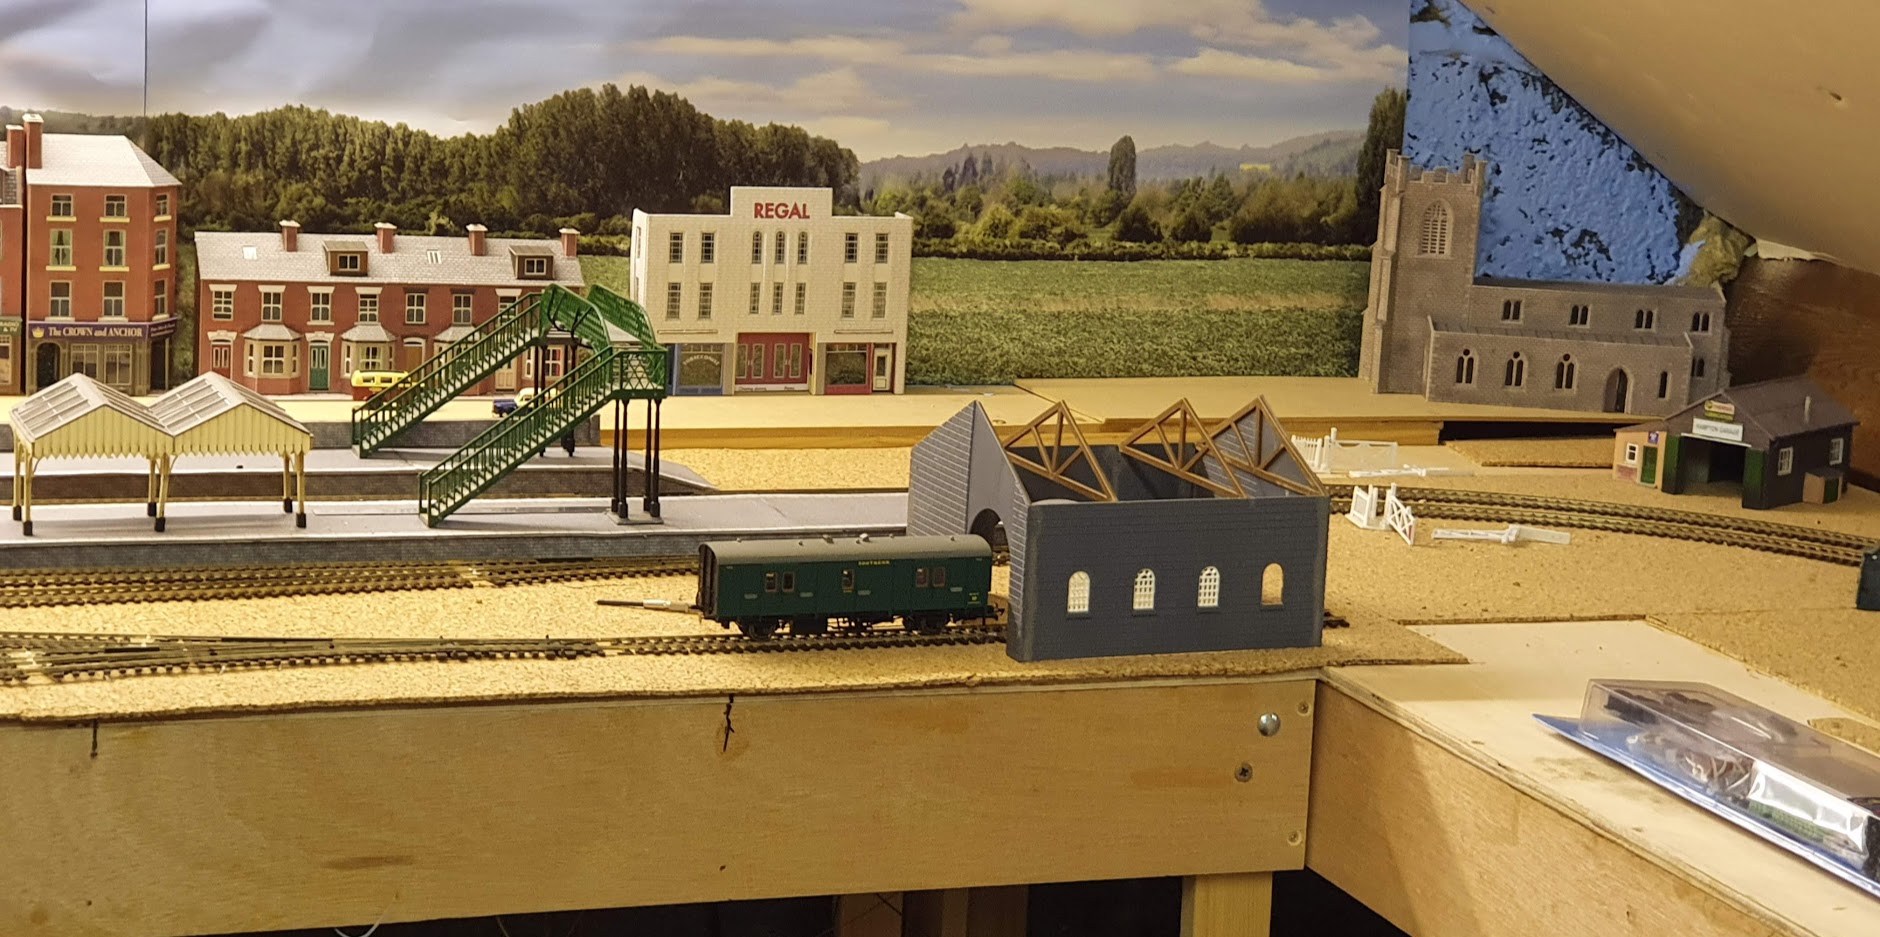
Awaiting new back scenes (Taller & Wider) and when track laying is complete and ballasted can start on the scenics.
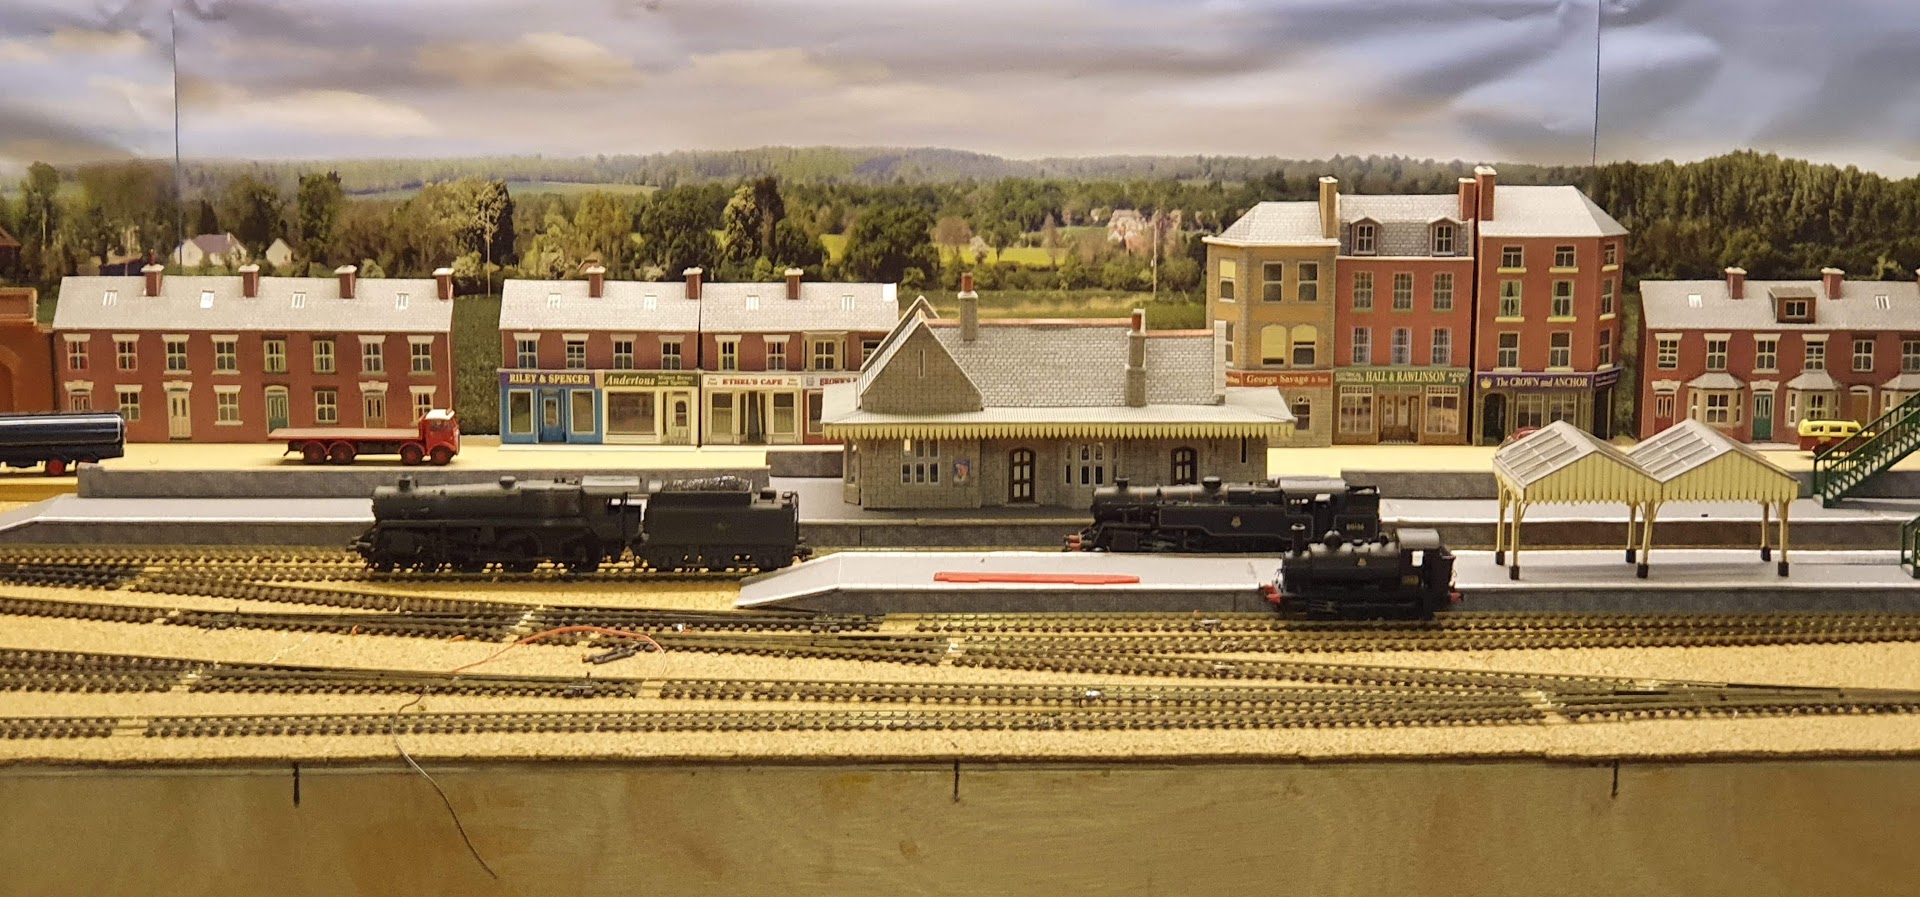


I am now awaiting all the Cobalt Point Levers and also the Peco
Twistlock point motors all delayed due to covid. 24th December 2020
Cobalt Point Levers now arrived (5th January 2021) so I can now start connecting all the wires to the Cobalt Point Motors.
They have to be mounted properly, painted and numbers etc. added.


Making progress with scenics now that all electrics are complete and
working. Not very good at ballasting and there is a lot to do!
July 2022. Hot in the loft so overall progress is very slow.
More scenery completed July 2022.


 I am
gradually replacing many of the Peco solenoid point motors with
these Cobalt motors. They are superior in nearly every respect and
are ideally suited to DCC and also Computer Control. They also
have two inbuilt SPDT switches for frog power switching, indicator
panels or signals.
2013
Now that I have five grandchildren (all boys) it seemed
like a good idea to build a Model Railway.
We have a large loft with good headroom so after clearing out
some rubbish (a lot remains to be sorted) I set about the task in
February 2009.
The plan always was to have computer control of the Model
Railway eventually. Sadly, I recently discovered that the
Gaugemaster DCC Controllers that I purchased at the start do NOT
allow for computer control.
I have decided now to replace all my Gaugemaster systems with the
NCE Powercab System. I have also decided to use the Big Bear
software for computer control of the railway. Below is the control
diagram on the laptop computer that will eventually control the
railway (Manual control will also be available). The diagram
covers the main staion area, the goods yard and the engine shed
and turntable. The fiddle yard on the other side of the railway
will remain under manual control.

The space allows me a layout
20' x 10' around the edge of the loft at about waist height.
This is the basic layout plan. I wanted
to have a continuous run with up and down main lines but also
a branch line, goods yard and engines shed!
In other words - the lot!
The main boards are 30" wide and the fiddle yard boards 18"
wide. Height is 42" 6mm board made up with 2" x 1" frames and
all mounted on a 2" x 1" H legs. I already had a few locos,
carriages and trucks so after buying some Peco Code
75 track
I made a start. The model railway is to be DCC controlled
as that seems to be the best way to go
nowadays. Also being
into computers the idea of computer control at some point seemed
attractive.
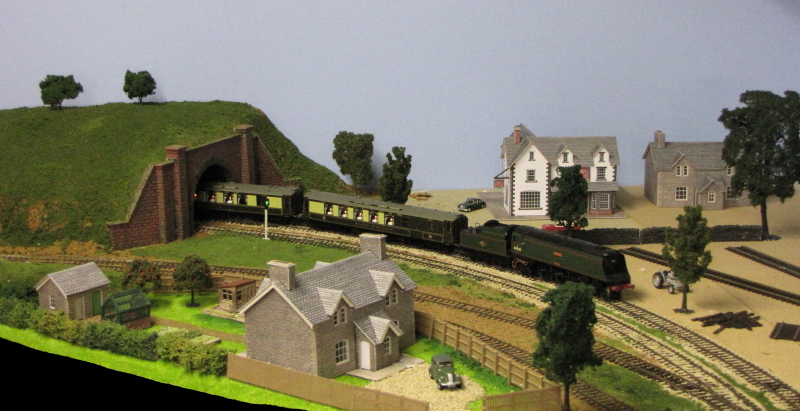
I have been busy building a tunnel at one end of the layout to
lead to the fiddle yard. Traditional construction using a chicken
wire core with
plaster cloth on top painted brown and finished with green flock
of various sorts and a few trees. Have also completed two railway
cottages,
and an Inn. Have laid out a garden for one cottage. Beginning to
stock up with a few motor vehicles.
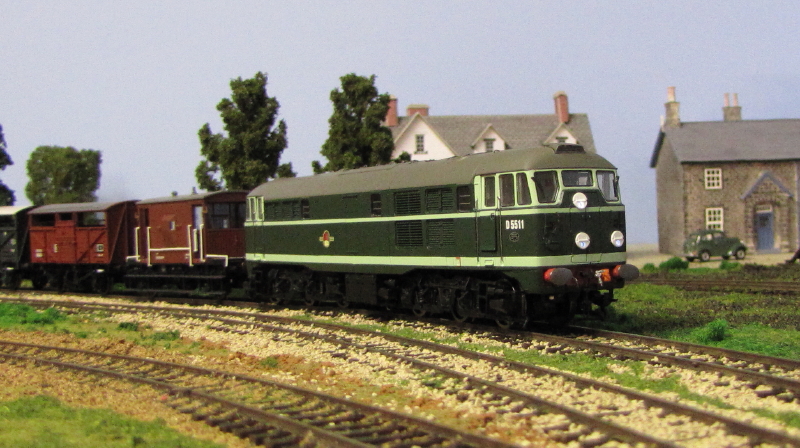
Class 31
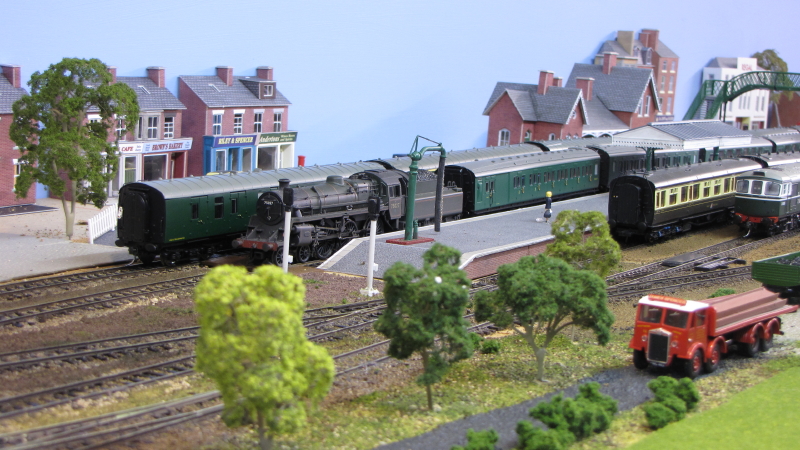
The station area is coming on. The 2 aspect coloured light signals
are working but the fine details (ladders etc.) will be added
later.
My son Gareth bought me some Traintronics two aspect signals for
my birthday. I purchased more signals and all the bus
wiring from Express
Models.
I also have some MSE semaphore signal kits and some Ratio signal
kits to build.
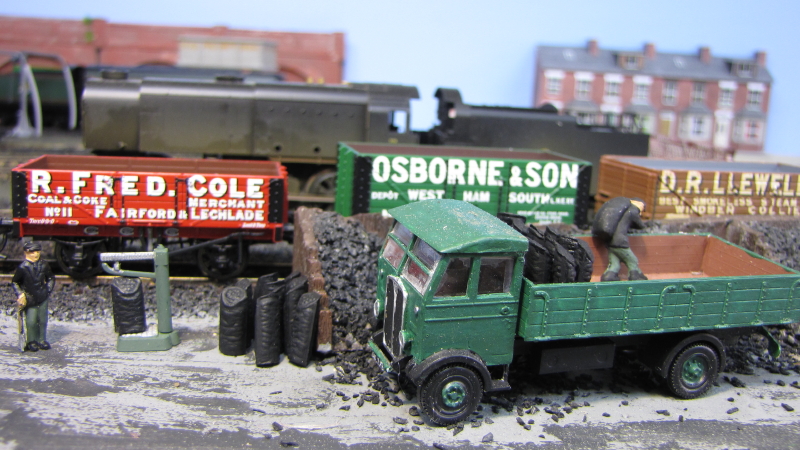
Coal Yard closeup.
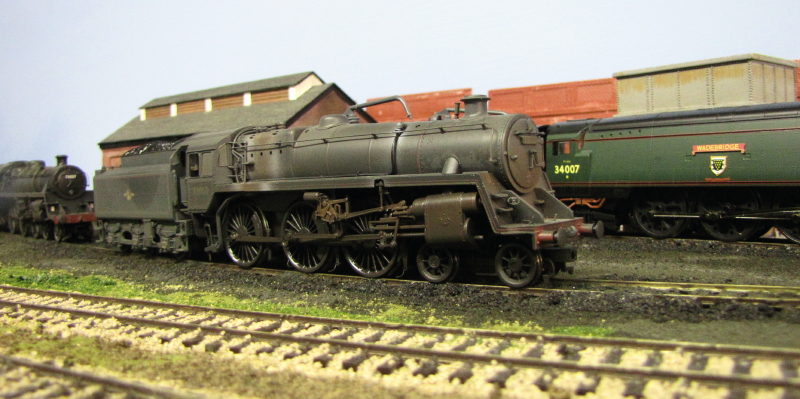
British Railways Standard Class 5 (Weathered)
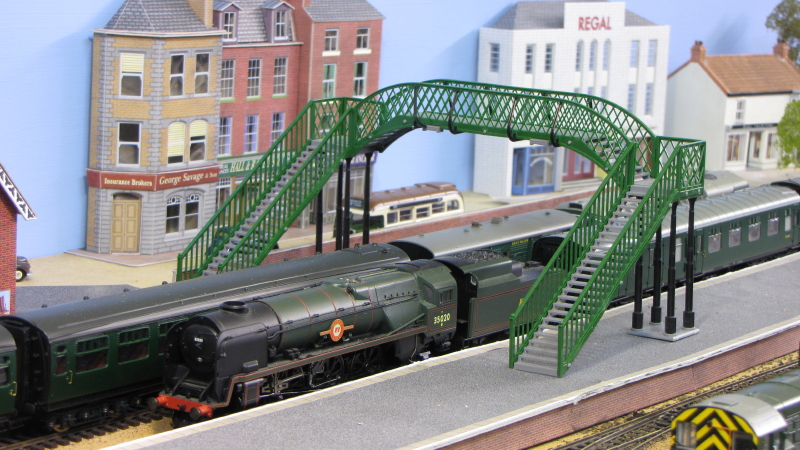
Bulleid Pacifics are my particular favourites - both rebuilt and
air-cased.
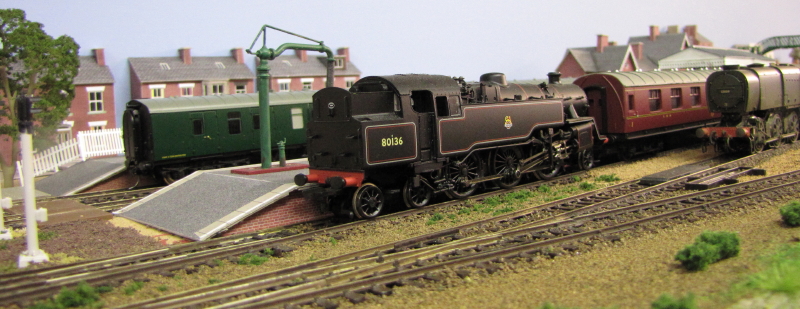
British Railways Standard Class 4 and Bulleid Q1.
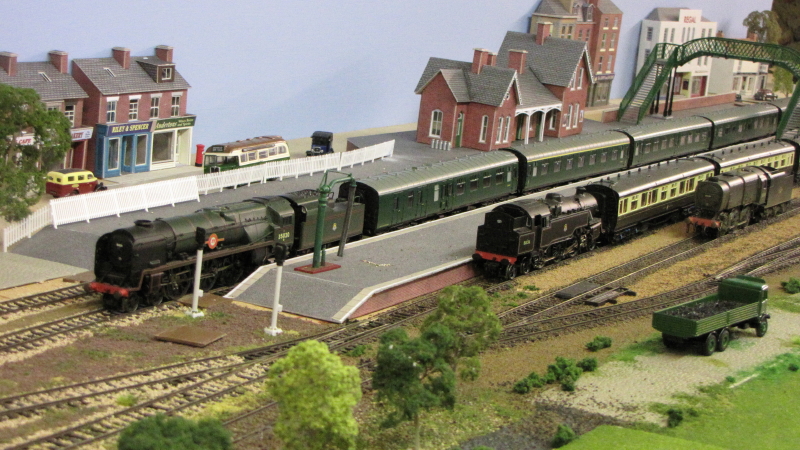
I have a lot of work to do on the roads. Also the many buildings
need chimney pots and the cinema has to be finished!
I have working lights for roads and the station but they are
waiting installation. Platform signs and posters are also needed.
The Goods Shed needs its roof, doors and finishing.

Coal Yard
I ordered a SR branch signal from Stephen Freeman. The layout now
has a mixture of semaphore signals and coloured light (two aspect)
signals.
They are all connected up through Heathcote
Electronics IRDOT infrared train detectors and IRDASC
circuit boards.
Each of these in turn connects to the previous signal. The
signals turn to danger after a train has passed and back to green
when
the train has cleared the next section. The coloured light signals
work directly off the detector boards while the semaphore
signals need the servo control boards to operate the signal arms.
All this means that whoever is driving a train has to obey the
signals or collisions might occur!!

The new signal is now in position.

A better view of the new signal made for me by Stephen Freeman
of Borg Rail. It is
fully working with lights and servos
but they are not yet connected.
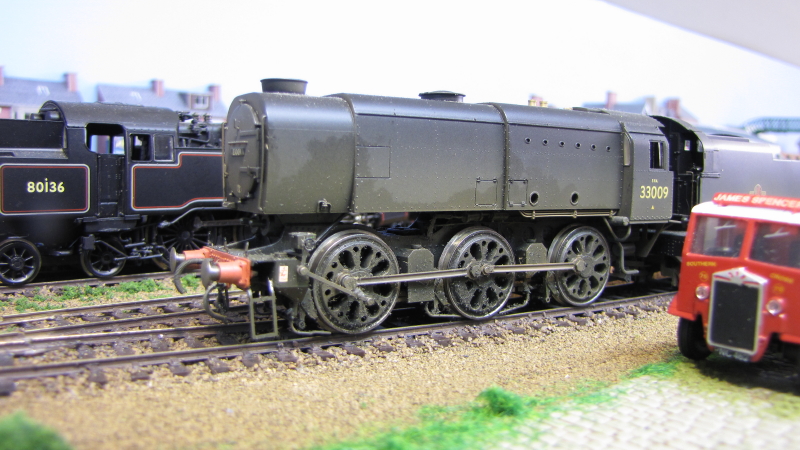
Bulleid Q1

The church and tunnel at the other end of the layout. Much work
still to do here. The temporary LED signal lights
are to be replaced with a working semphore signal. This is
in the workshop being finished at the moment.

Lytch Gate still come for the church. Level crossing and roads to
be finished.

Gardens, driveways etc. to be finished. Pathways to be layed.

I might get the level crossing gates to work one day!!

Signal now in position and working


New Yard Lamps - 6v wired in series. Now all working

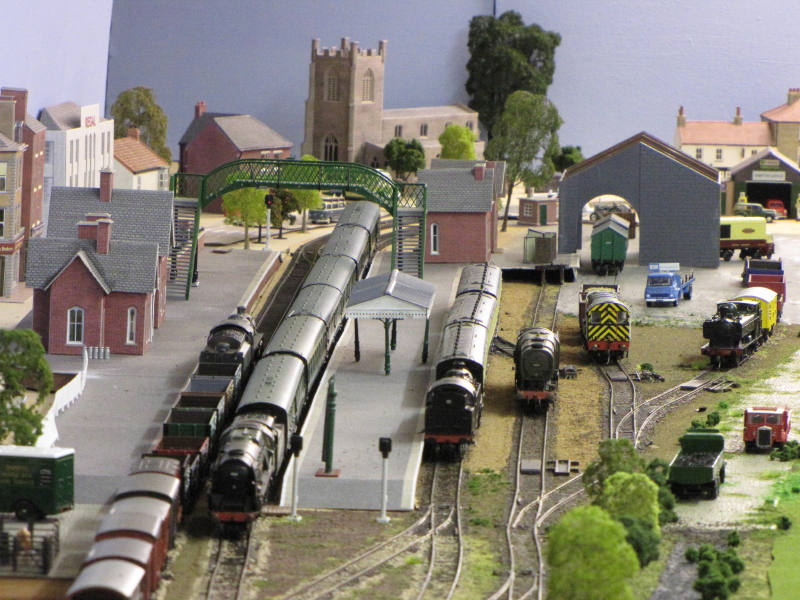
A Station Platform view.

A goods train passing through the station. Cinema still to be
finished.
I have also now put up some backboards in plain blue. I hope
eventually to purchase some country scenes to paste upon these.
Also some front boards to hide all the wiring. There is a main DCC
bus running all around and providing many track feeds.
There is also a 12 volt DC bus all around providing power for
points, signals and lighting. More of his later.

The platforms are made fom the Metcalfe kits as is the Station
building and some of the house and shops etc.
Here is progress before ballasting.

I have built a number of Metcalfe card buildings, which are
excellent and also purchased some Hornby Skaledale buildings
and a couple of Bachmann buildings. I have started
ballasting the track with different colours of N gauge ballast
using the
age old method of fine water spray, PVA glue etc.

After investigating the various DCC Control systems available I
decided on the Gaugemaster Prodigy Advance 2 system.
I now have three walkabout controllers and it is also connected to
the Gaugemaster software on and old laptop computer.
I have built a small desk on which to place the controllers along
with a spreadsheet showing all the loco numbers and routes.


I also decided to use Micro Miniatures http://www.microminiatures.co.uk/acatalog/IR_Points_Motor_Controller.html
infra red point controller. Again this seemed like a good idea at
the time but now I discover that it cannot control Tortoise
or Cobalt point motors. I have made up a display panel which shows
the position of every point on the main layout.
Normal point position is shown by a green led and change position
by a red led. Routes can also be set with this system.

Here is the basic setup. The loft still needs an aweful lot of
clearing out and tidying up!
The start of tracklaying
Unfortunately I started track laying on the main station area. I should have started with the fiddle yard side until I had a
little more experience of tracklaying and ballasting. I also decided that electrofrog points would be best worked with
Peco PL10 point motors. I did not make proper allowance for powering the frogs. This I am now regretting .


 I am
gradually replacing many of the Peco solenoid point motors with
these Cobalt motors. They are superior in nearly every respect and
are ideally suited to DCC and also Computer Control. They also
have two inbuilt SPDT switches for frog power switching, indicator
panels or signals.


